


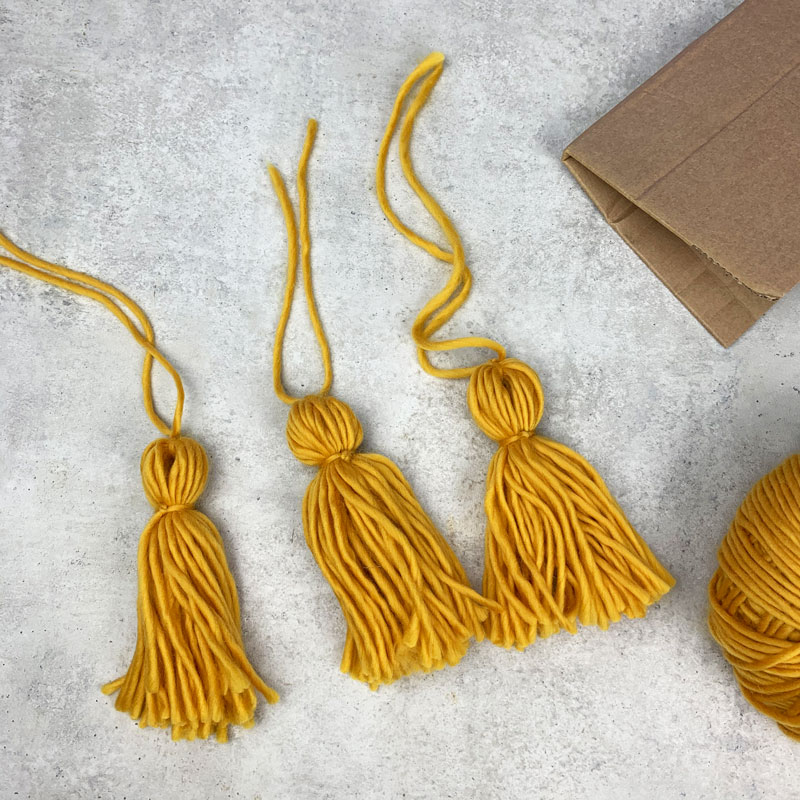
DIY wool tassels are super easy and quick to make yourself. I love to upgrade a triangle scarf with tassels, e.g. the Golden October Shawl. But of course you can also use them e.g. as decoration for your handbag or a key ring.
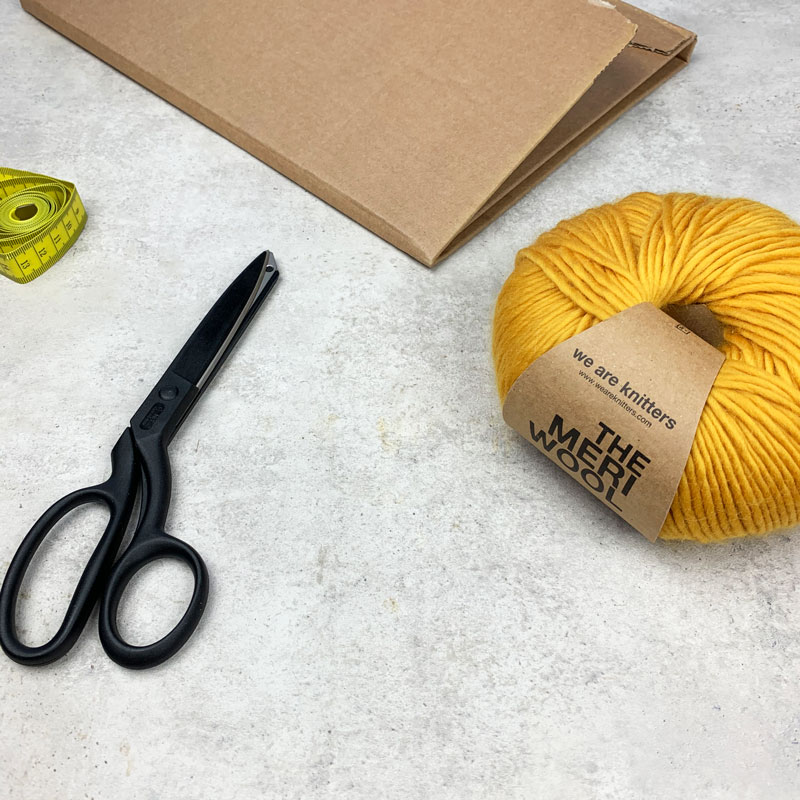
You do not need much to make tassels yourself:
- Wool or wool leftovers in the desired color. I’ve used the Meriwool by we are knitters as I’m going to use the tassels for my Golden October Shawl
- A pair of scissors
- A measuring tape
- Some cardboard
Step 1: Cutting cardboard to size
The first thing we need is a stencil for our DIY tassels. You can use a piece of cardboard and cut it to size.
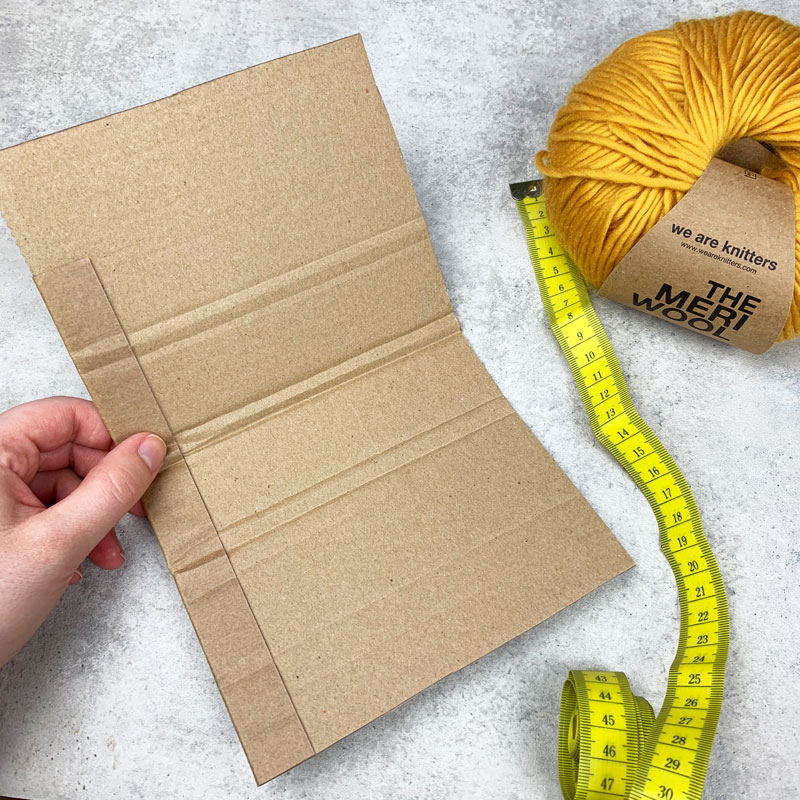
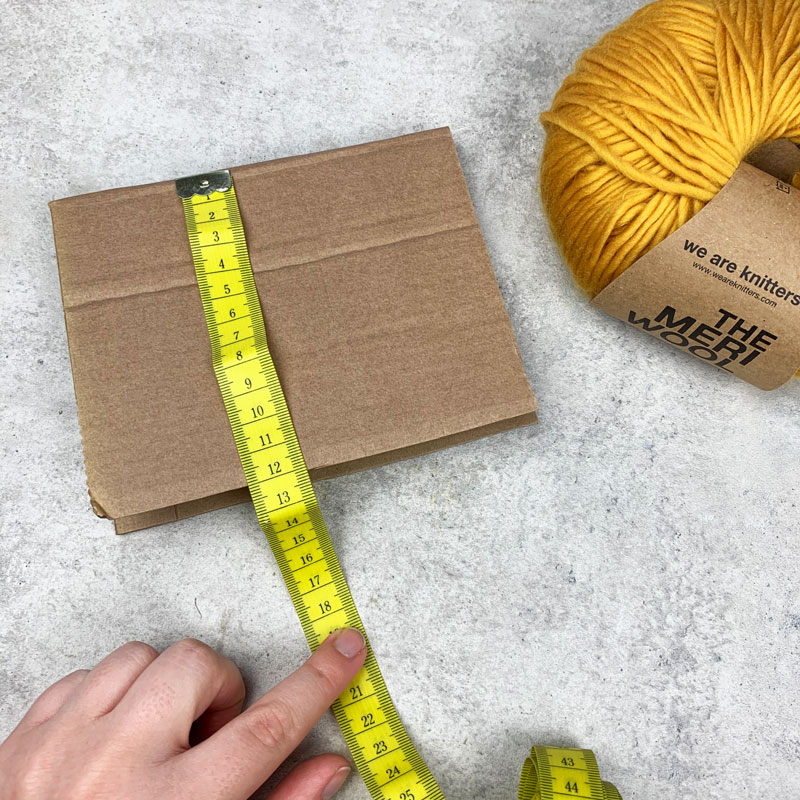
It is important that you cut the cardboard twice as high as you want your tassels to be long. My tassels should be about 12 cm long at the end. So I cut myself a 24 cm long piece of cardboard. Then you fold it in the middle.
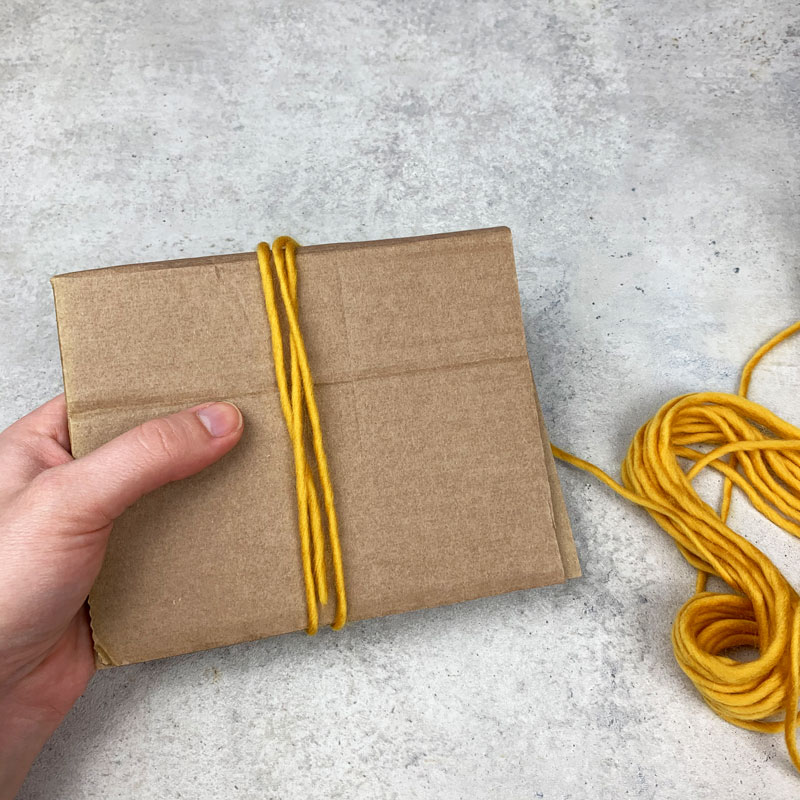
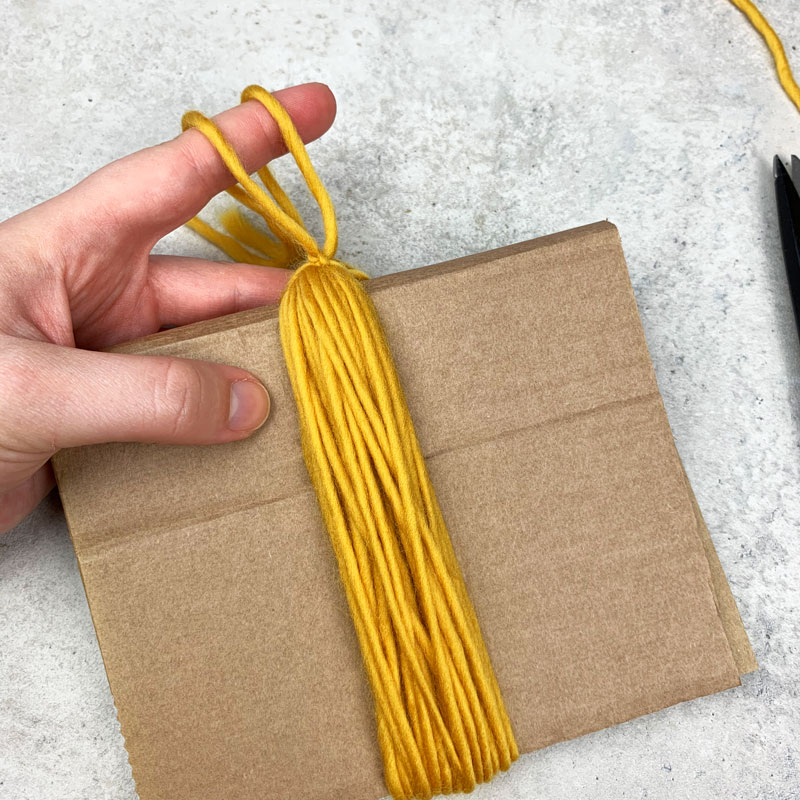
Step 2: Wrap the thread
Now wrap the thread around the cardboard stencil. Put the beginning of the thread on the bottom side of the cardboard and wrap it around the cardboard. It is important that you start where the cardboard is open. You will see why in a moment.
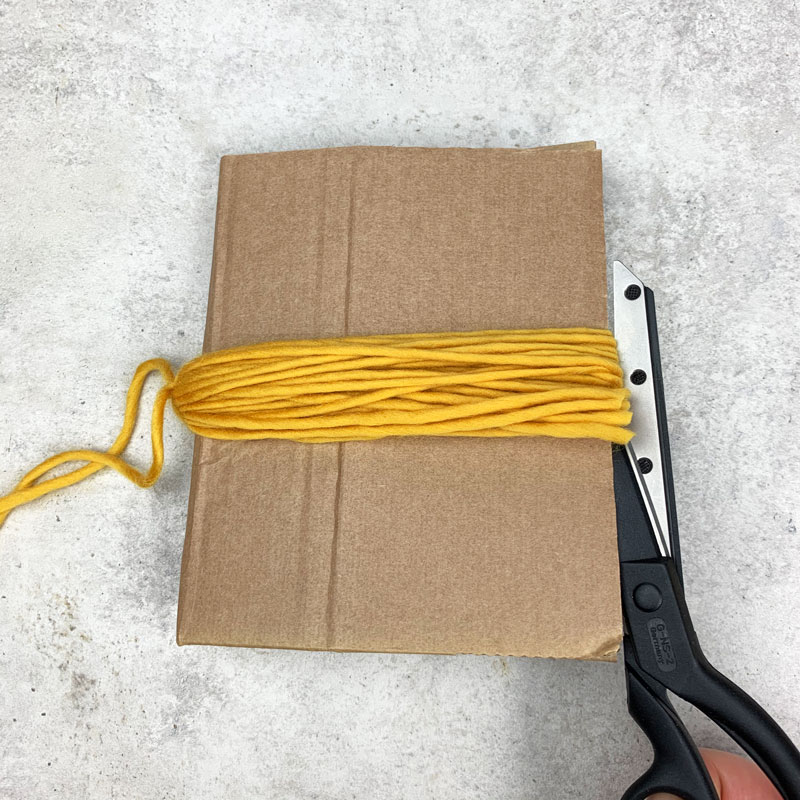
Continue to wrap the thread around the cardboard until you reach the desired thickness for your tassel. The more often you wrap the thread, the more voluminous your tassel will be at the end.
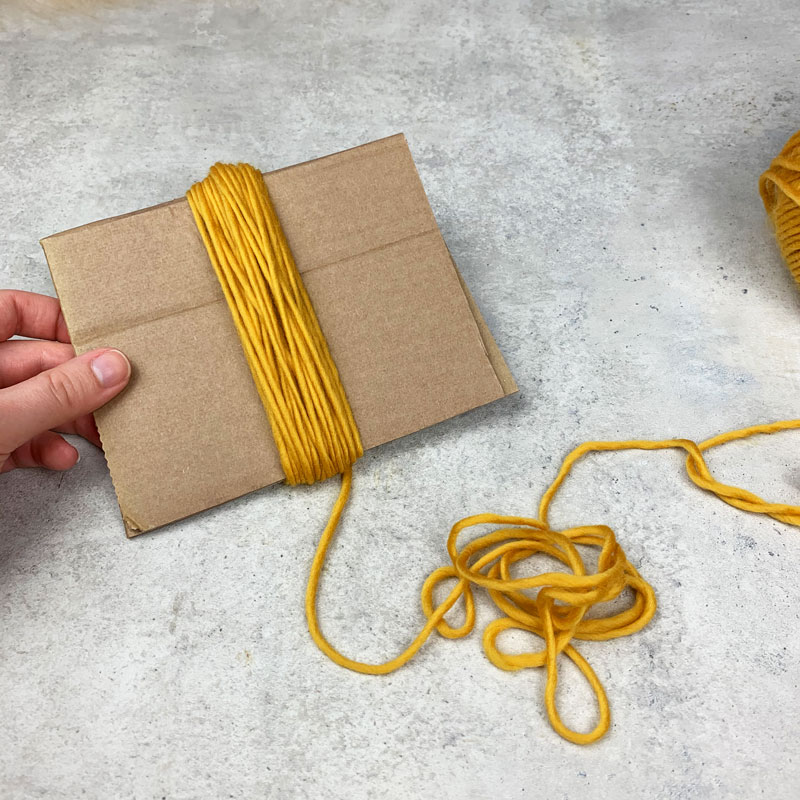
Tip: Depending on the size of your tassel, you will use a relatively large amount of wool. For example, if you want to make three tassels for a triangular scarf, you should take the wool consumption into account so that you don’t end up with too little wool left for either your tassels or your scarf.
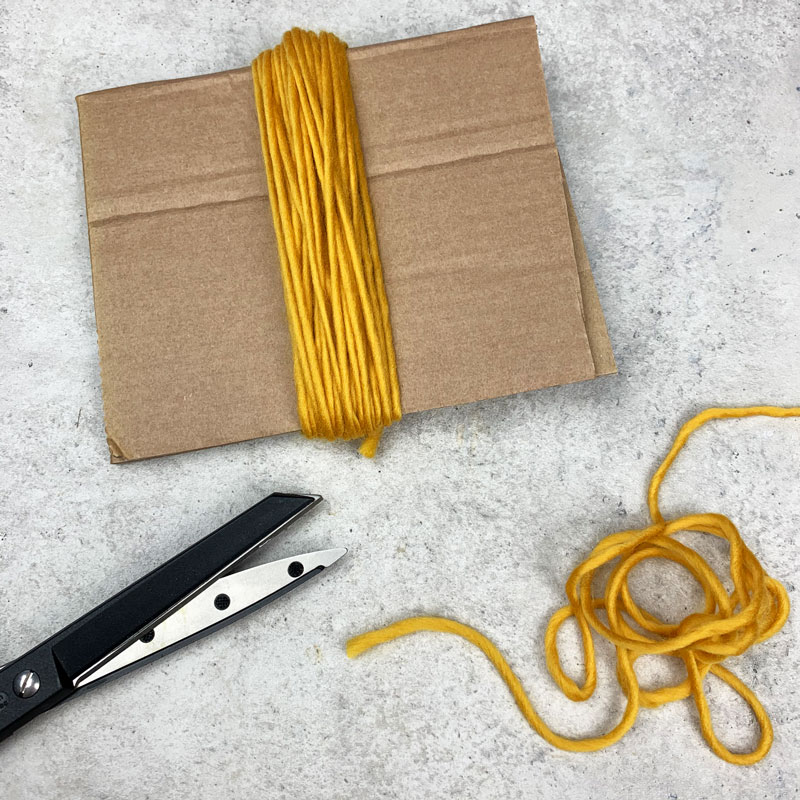
Now cut the thread at the bottom of the cardboard.
Step 3: Finish your DIY tassel
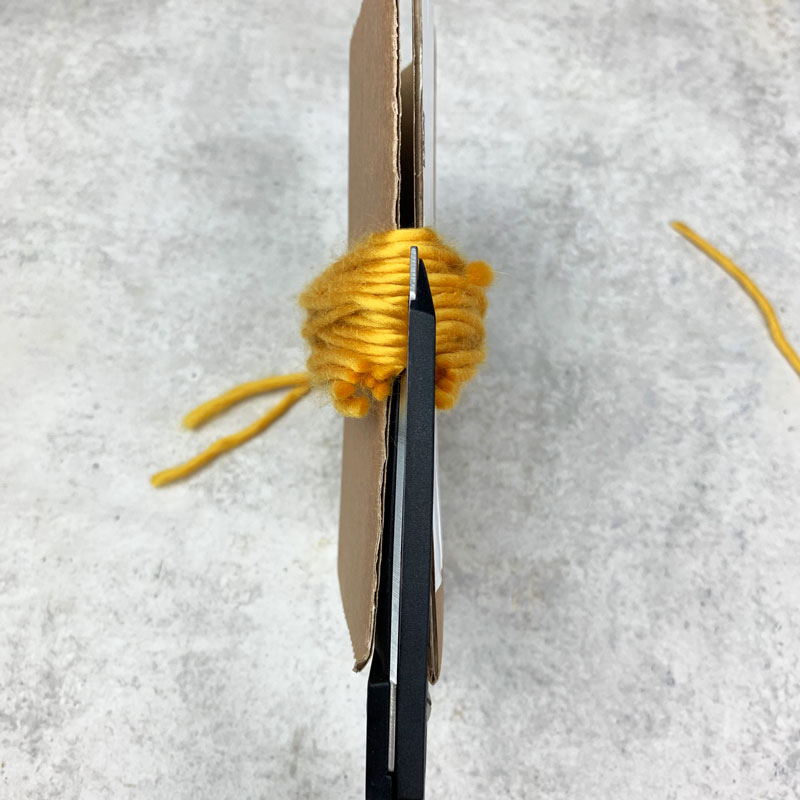
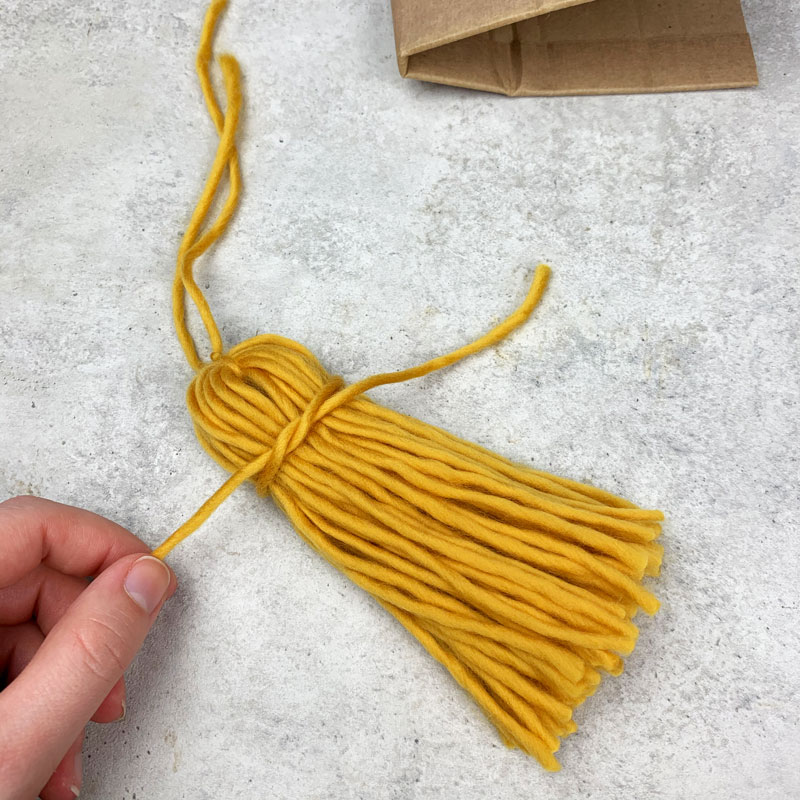
Cut a piece of wool about 20 cm long and wrap it around your threads at the top edge.
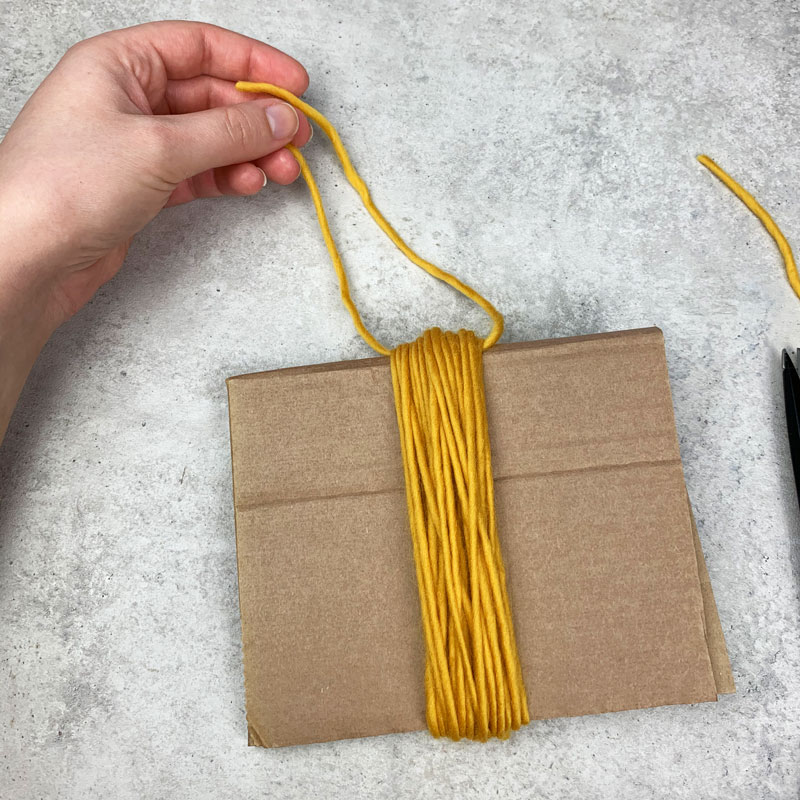
Make a tight knot.
Take your scissors and cut the wool you have wrapped around the cardboard at the bottom.
Now you can see why the cardboard at the bottom edge needs to be open. It makes it much easier to cut the threads.
You can now remove the cardboard, we don’t need it anymore. Your tassel should now look like this:
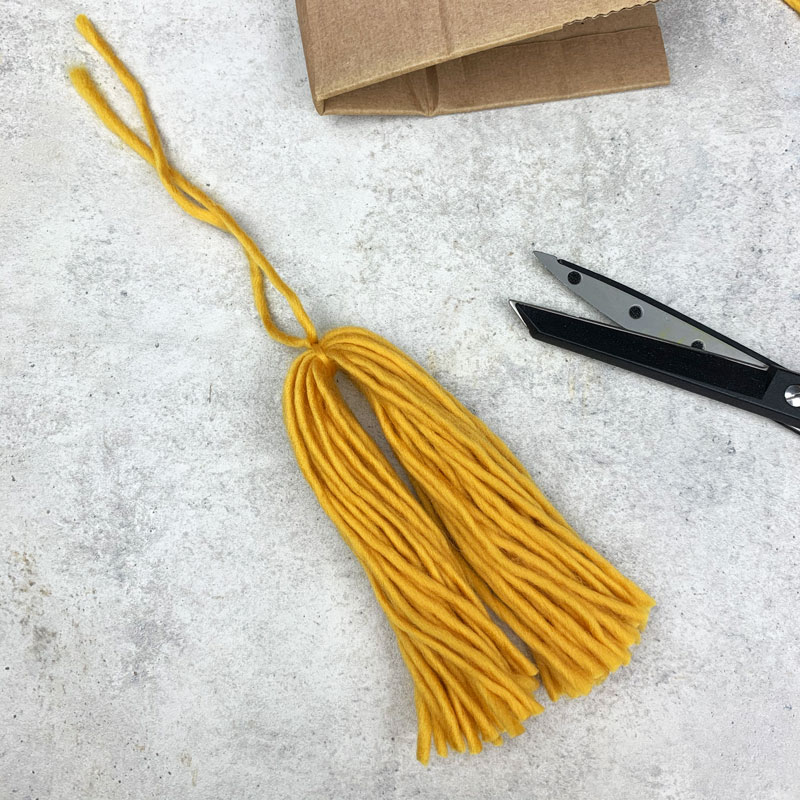
Cut another thread about 20 cm long and wrap it around your tassel. Place the thread so that the upper part of your tassel measures about a quarter of the total length.
Tighten the knot well. Finally, you can cut the threads again with your scissors so that they all have the same length.
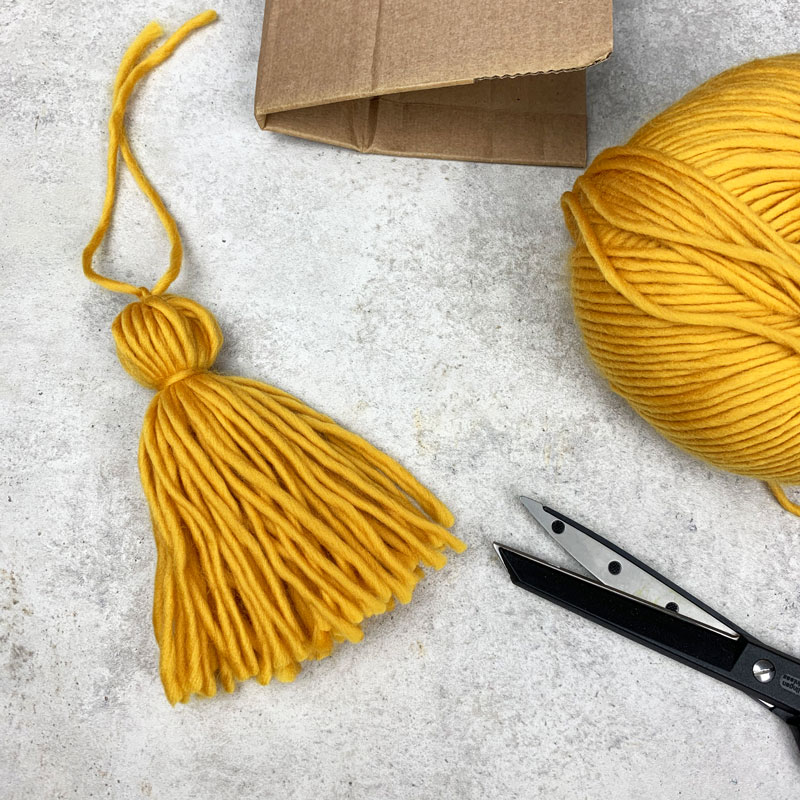
Your first tassel is done. Now you can add it to your scarf, handbag or whatever you like.
Get creative and show me your DIY wool tassels on Instagram with #theknitstitch.