
Every knitting project starts with casting on stitches. Here’s how it’s done.
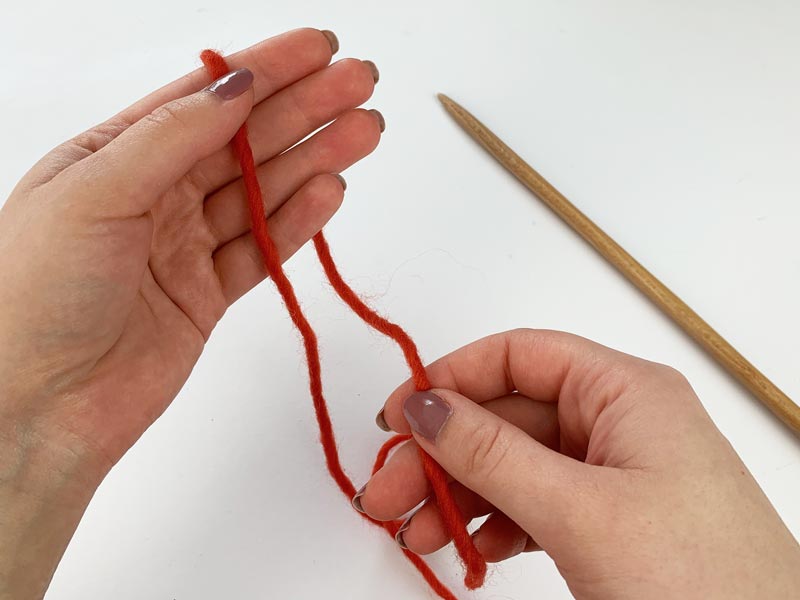
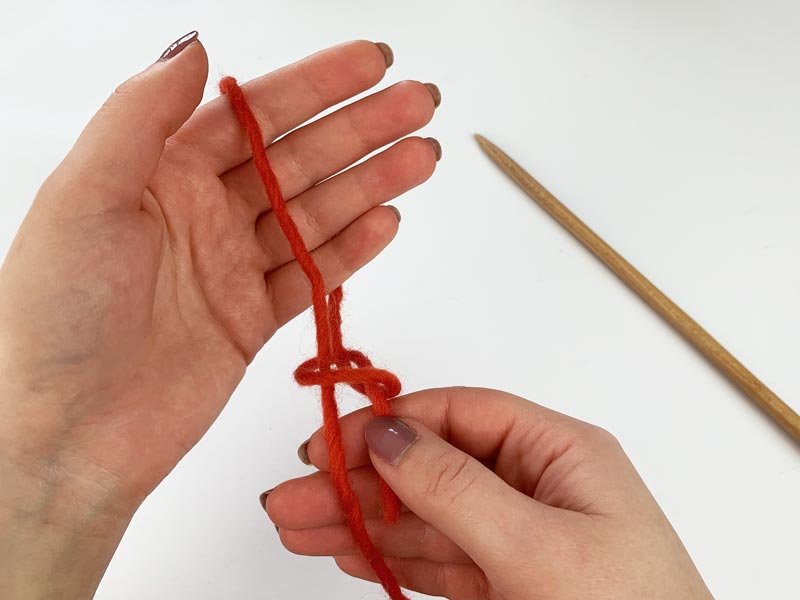
Step 1: Make a big loop with the beginning of the yarn by tying it around your fingers.
Step 2: Now take the beginning of your yarn and tie it once around your big loop. This creates a second, smaller loop.
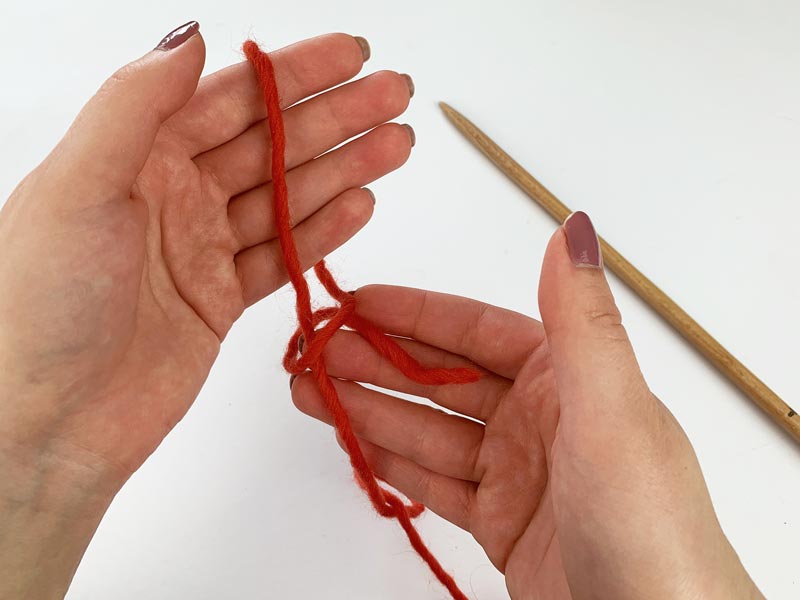
Step 3: Then you put the beginning of your yarn through the small loop you have just tied.
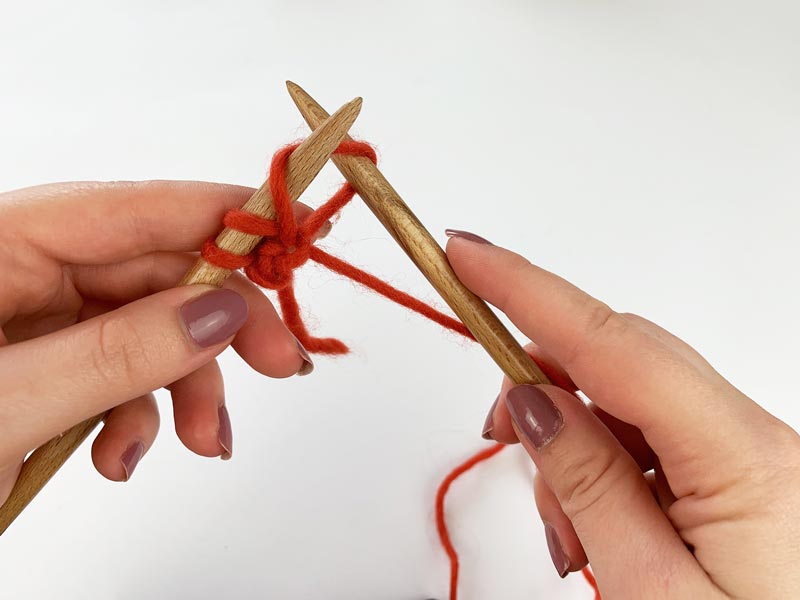
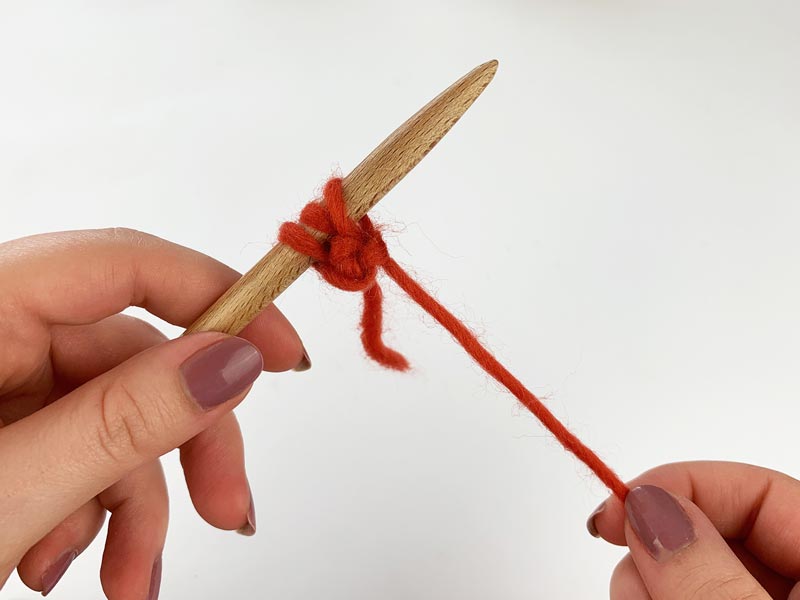
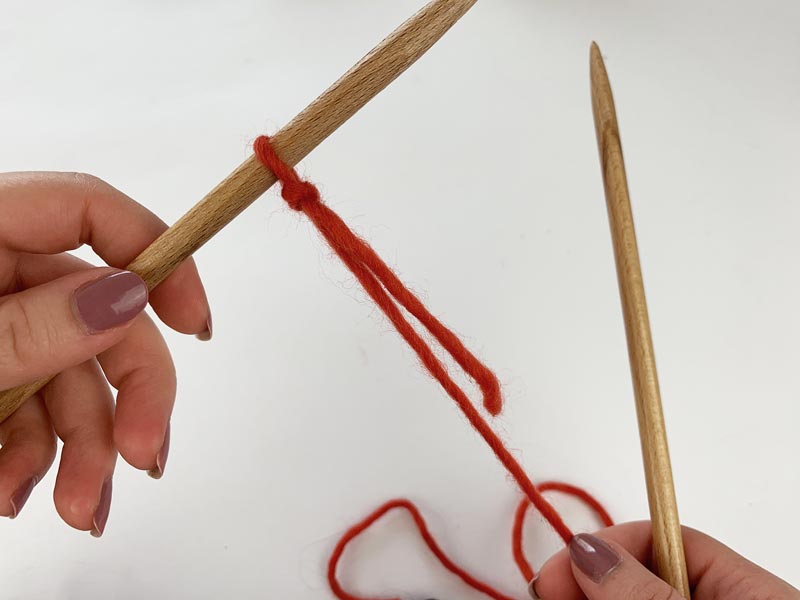
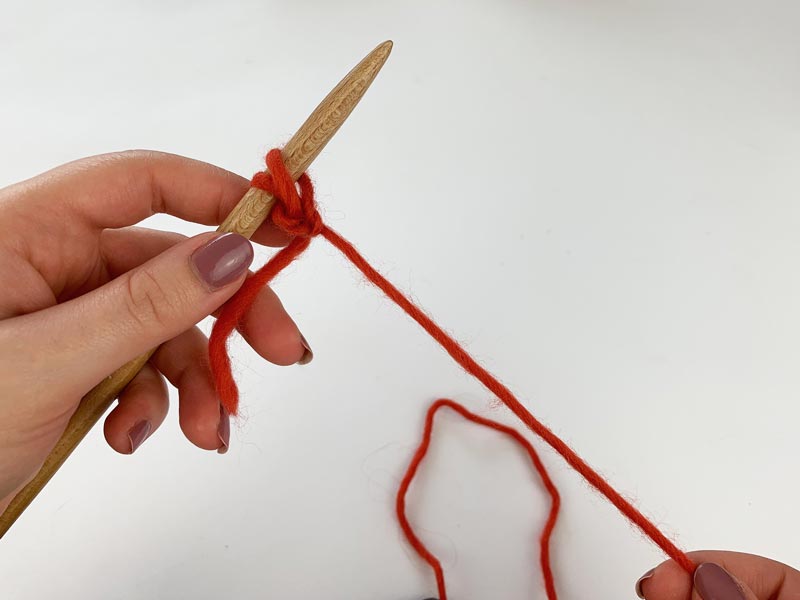
Step 4: Put your knitting needle through the big loop. Pull the working yarn to tie the stitch tightly to your knitting needle. You have your first stitch on the needle.
Step 5: Knit 1 stitch. If you don’t know how to do that, check the tutorial “The Knit Stitch“. Important: Don’t let the first stitch slip from your left knitting needle!
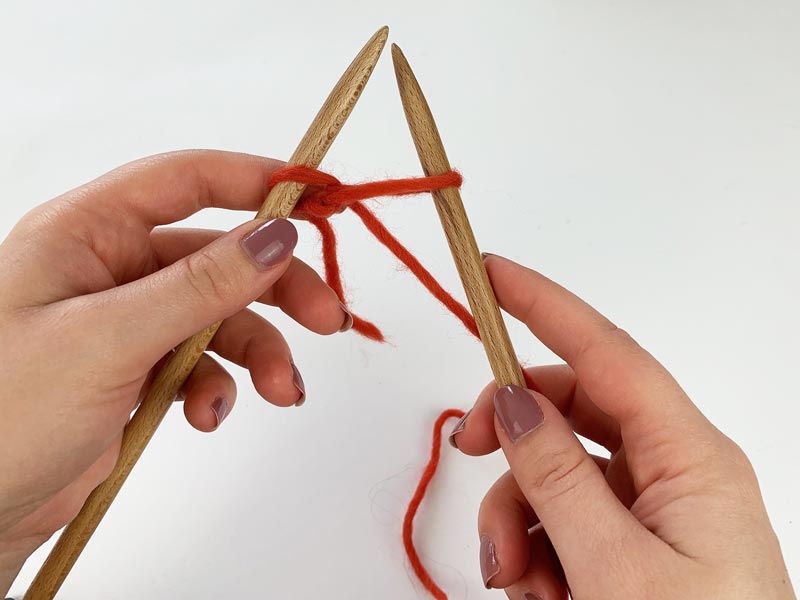
Step 6: Put the left knitting needle through the new stitch on your right knitting needle.
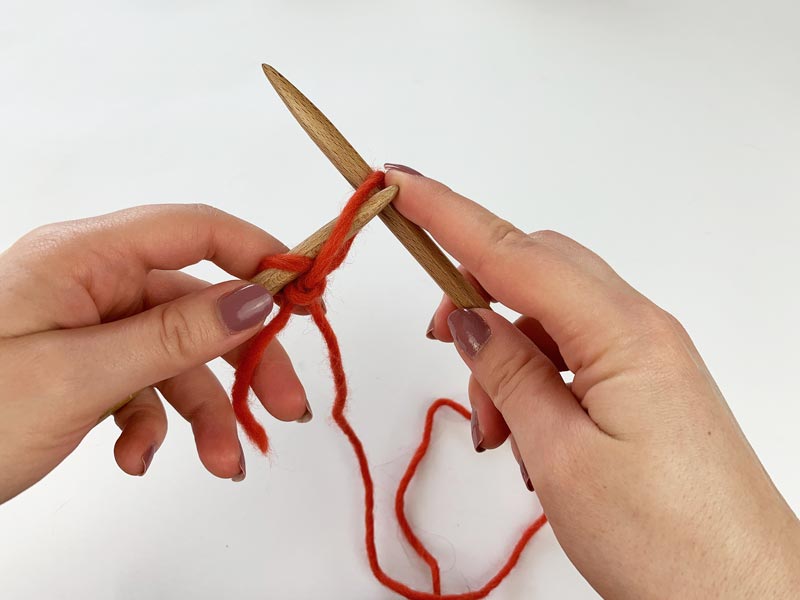
Step 7: After you have done that, you can pull the right knitting needle out of the stitch.
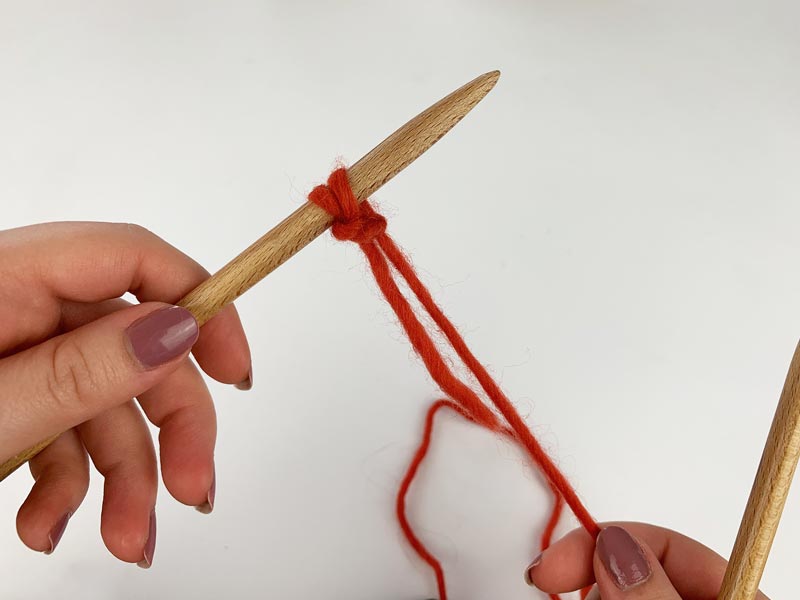
Step 8: Pull the working yarn again to tie the stitch tightly to the knitting needle. You have your second stitch on your knitting needle.
Step 9: Now simply repeat steps 5 to 8 until you have hit the desired number of stitches.