


Color changes can give simple patterns, such as the “stockinette stitch”, a very special look. A great example is the knitting set for the Signage Sweater from we are knitters. The color changes create beautiful stripes.
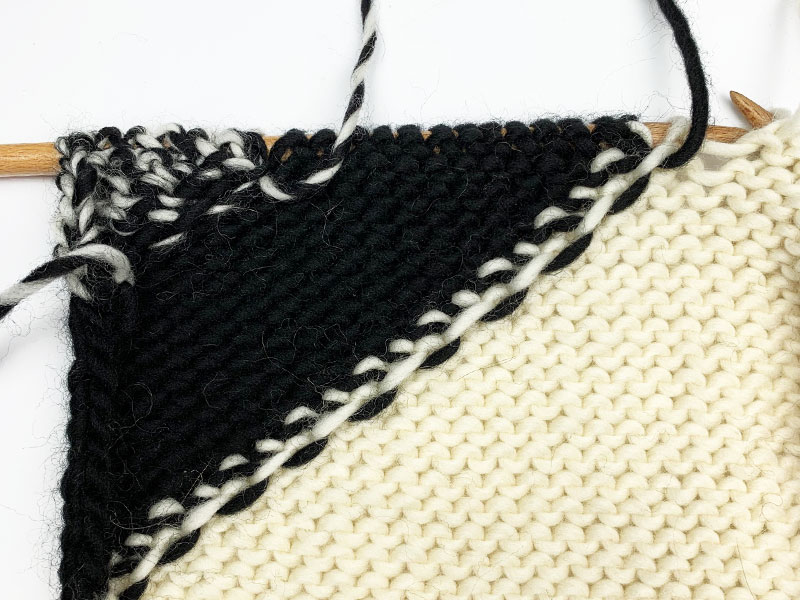
However, if you do not knit the color changes correctly, very unsightly holes will appear between the colors. But don’t worry, you can easily change the colors with a simple trick. You just have to cross the yarns. This will look like this on the backside:
In the following I will show you how to knit the color change in the stockinette stitch:
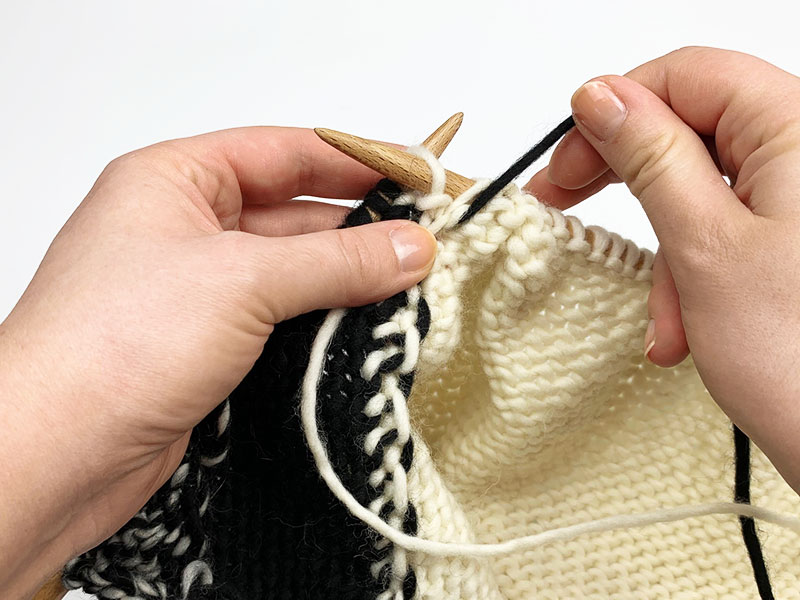
Step 1: Knit up to the point where you want to make the color change. In my example the next stitch will be knitted with the black wool again.
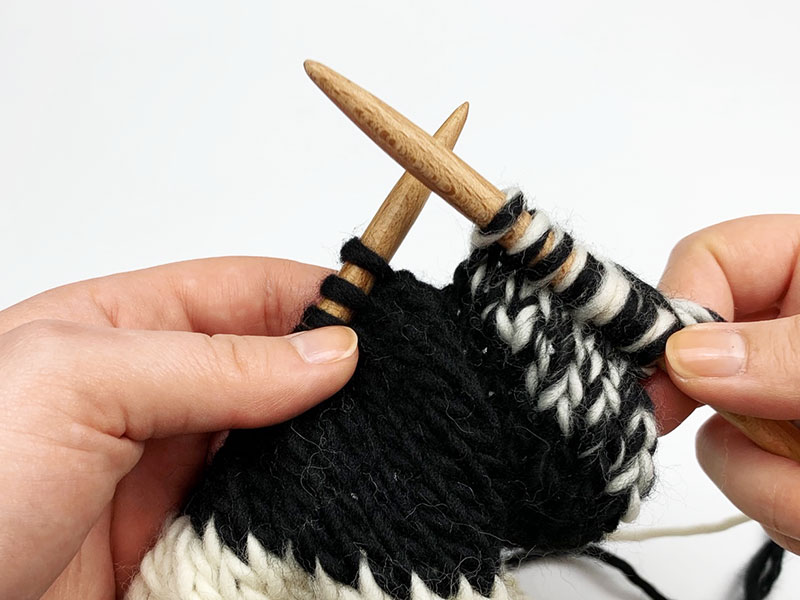
Step 2: Insert the needle into the stitch to knit it.
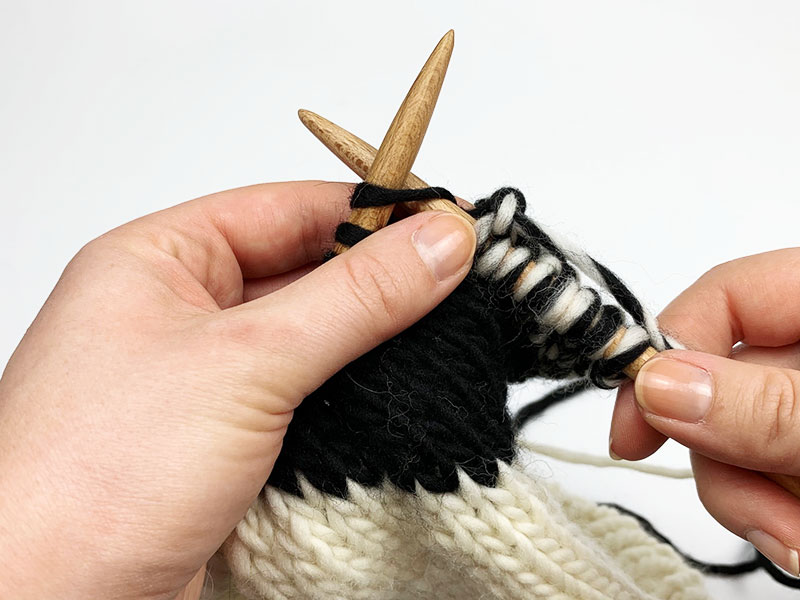
Step 3: Now we cross the two yarns. To do this, take the yarn in the previous color and place it on the left side.
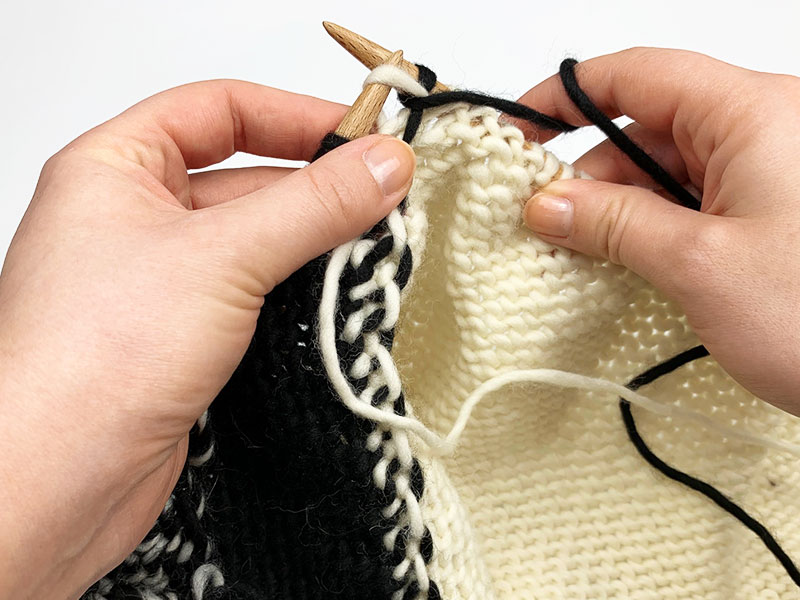
Step 4: Hold the previous yarn with your left hand and pick up the yarn with the new color for knitting.
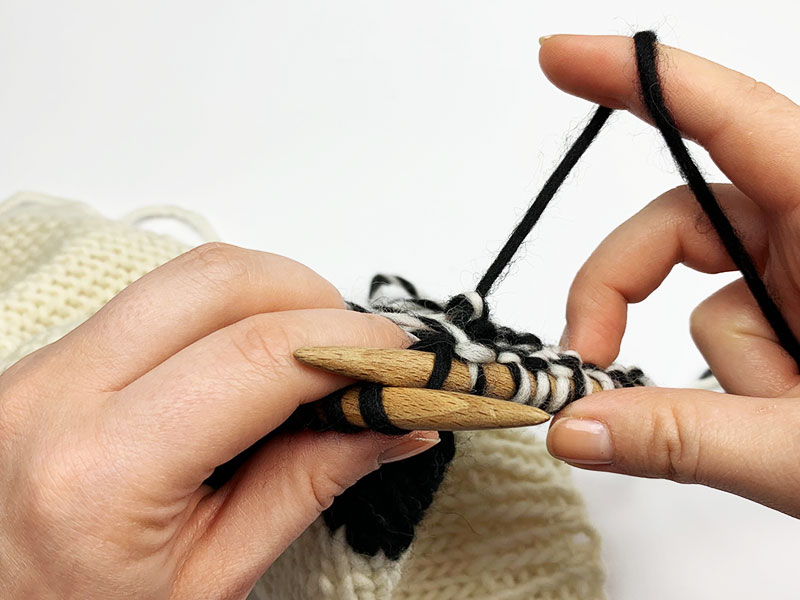
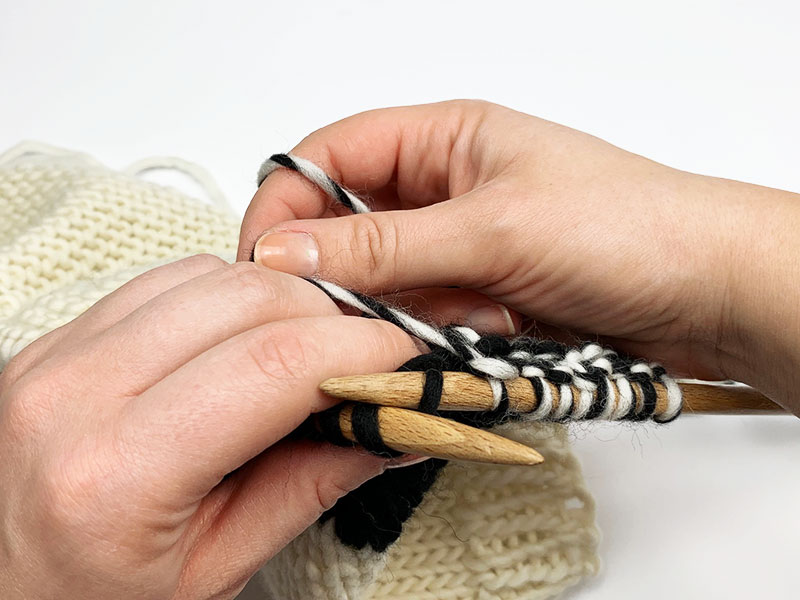
Step 5: Knit the stitch with the new thread as usual. You now have a stitch in the new color on the right needle.
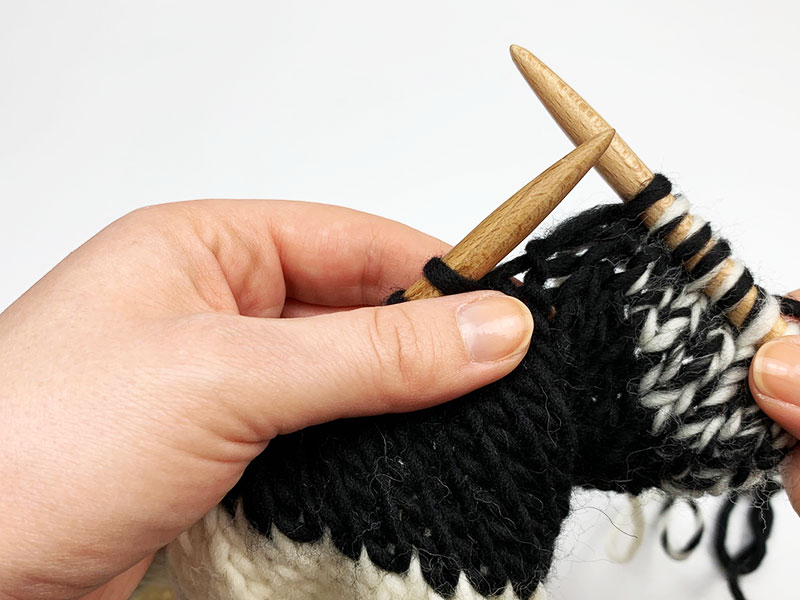
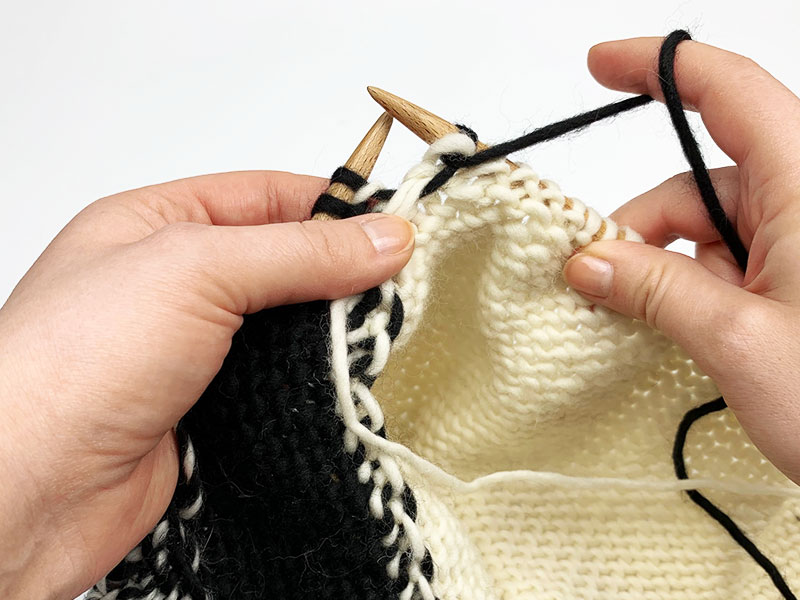
Step 6: Now we purl the color changes on the backside. Purl all the stitches up to the point where the color change is to take place. In my example the next white stitch is to be knitted with the black wool. To do this, insert the needle into the stitch to purl it.
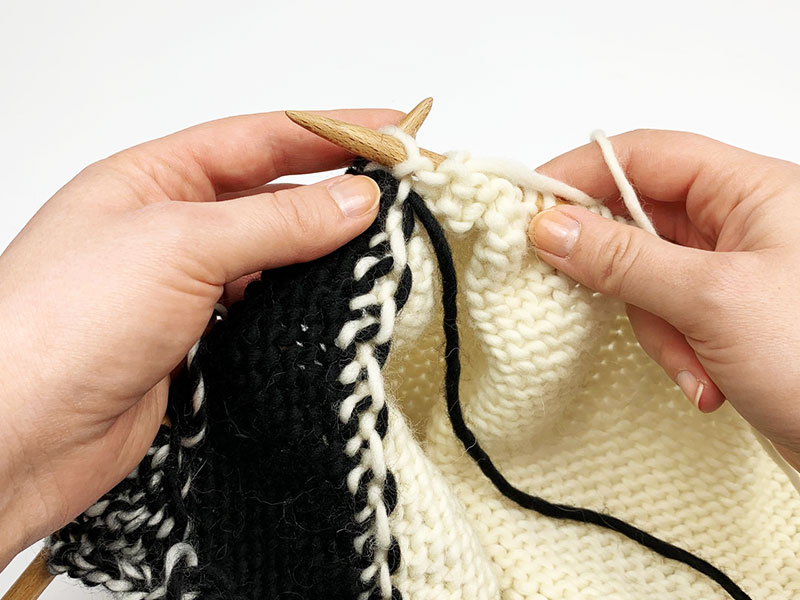
Step 7: Here too we cross the yarns again. Take the yarn in the previous color (in my case it is the white yarn) and put it on the left side.
Step 8: Hold the previous yarn with your left hand and pick up the yarn with the new color for knitting.
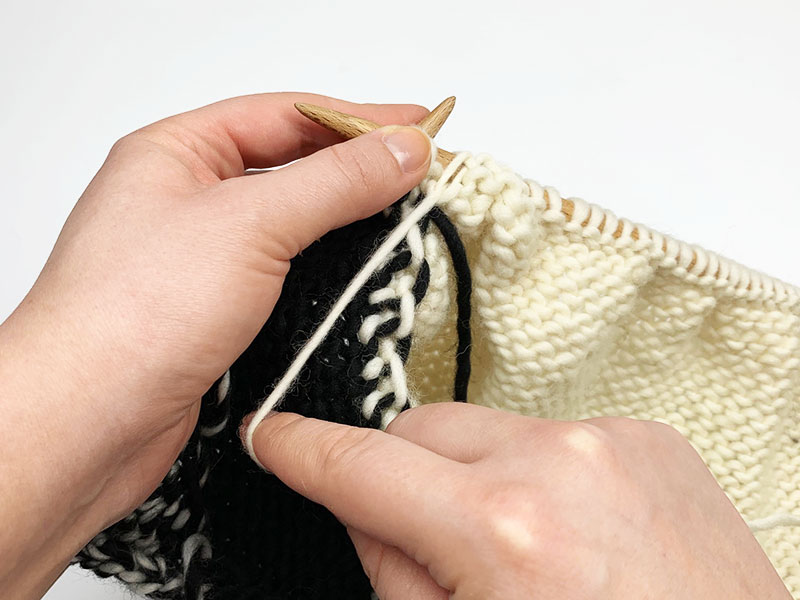
Step 9: Now purl the stitch with the yarn in the new color as usual.
Step 10: You now have a new stitch in the new color on your right needle, in my example a stitch in the black wool.
Follow this simple trick and you are guaranteed to succeed in the color change!