


When you knit a yarn over, a small hole is created. A yarn over is super easy to knit. But you have to pay attention to where the working thread is in advance of the yarn over and then wrap it correctly around the right needle. Below I show you the different variations that are possible.
A yarn over is used in combination with together knitted stitches for different lace patterns, e.g. for the beautiful leaf stitch. With the help of a yarn over you can also knit increases, because after every yarn over you always have one additional stitch on the needle. Buttonholes can also be easily worked into the knitting project with a yarn over.
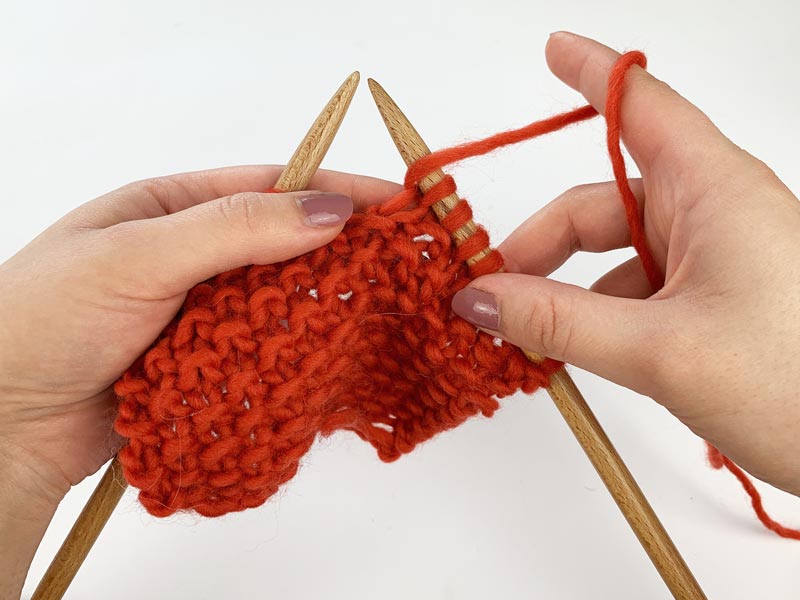
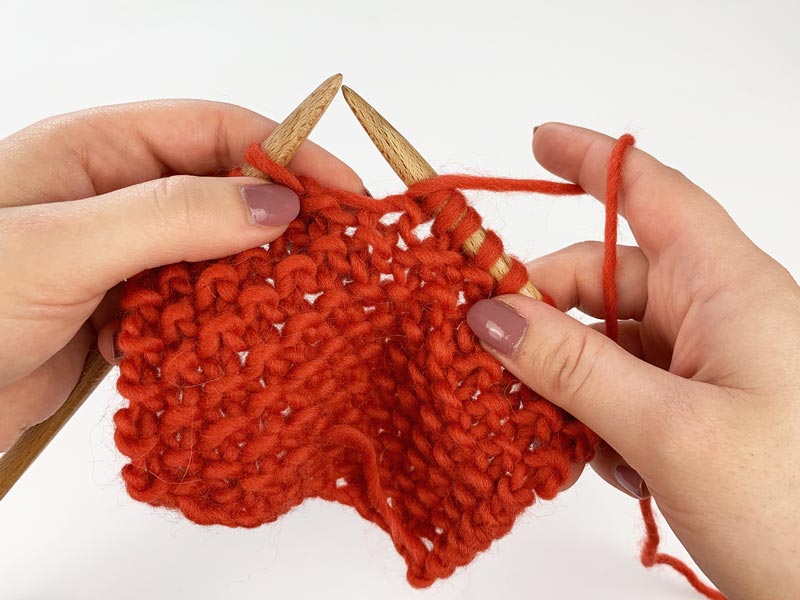
Variation 1: Yarn over between two knit stitches
In this variation your yarn over follows a knit stitch. Directly after the yarn over you also do a knit stitch. Your working-thread is in advance of the yarn over behind the work.

Step 1: Wrap the working thread that lies behind the work around your right needle from back to left front.
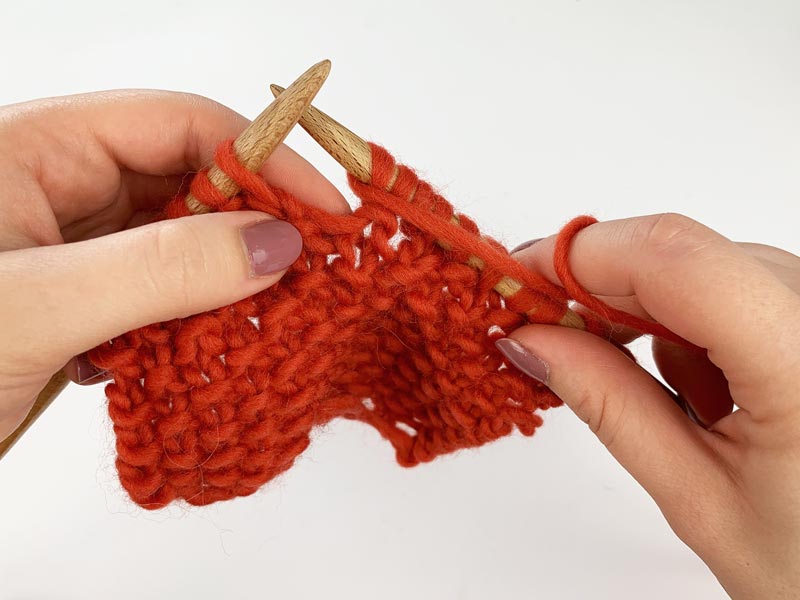
Step 2: Knit the next stitch on your left needle. To do this, pass the right needle into the stitch from right to left as usual, but with the thread before the work.
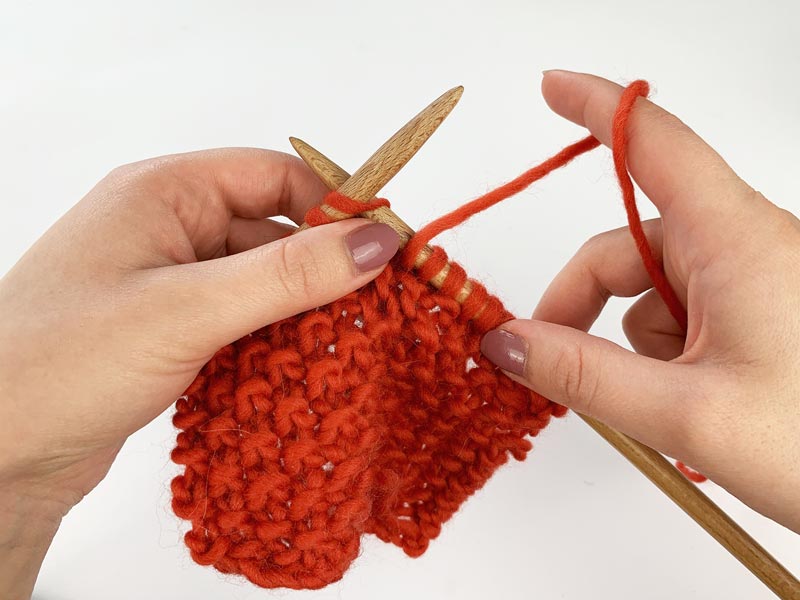
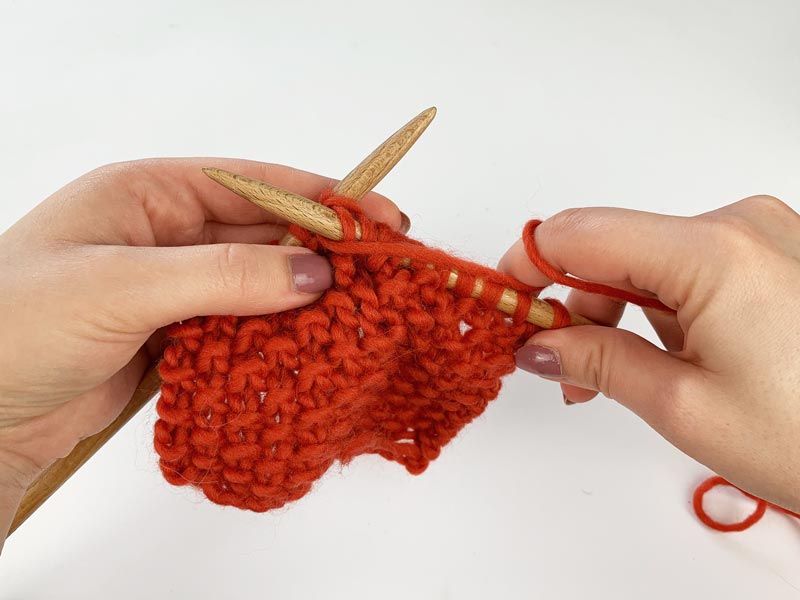
Step 3: Wrap the working thread once from back to front around the right needle, knit the stitch normally and let it slide off your left needle.
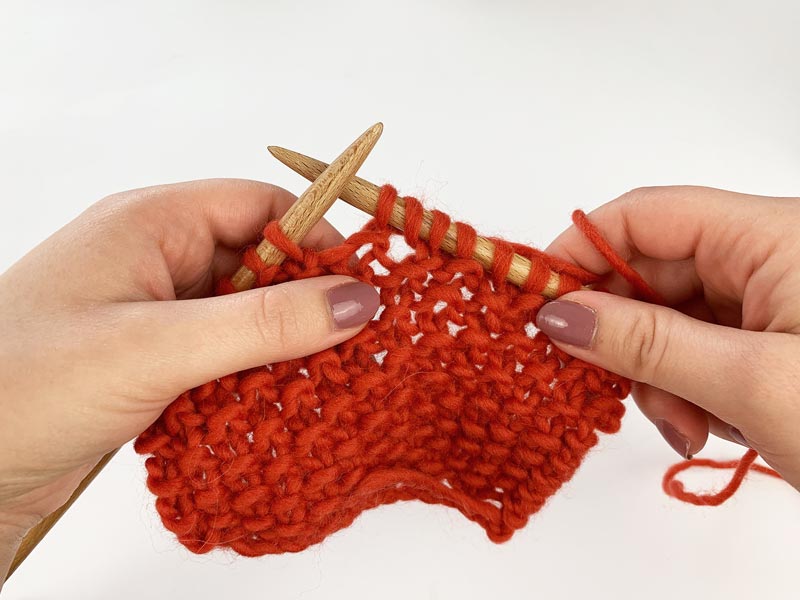
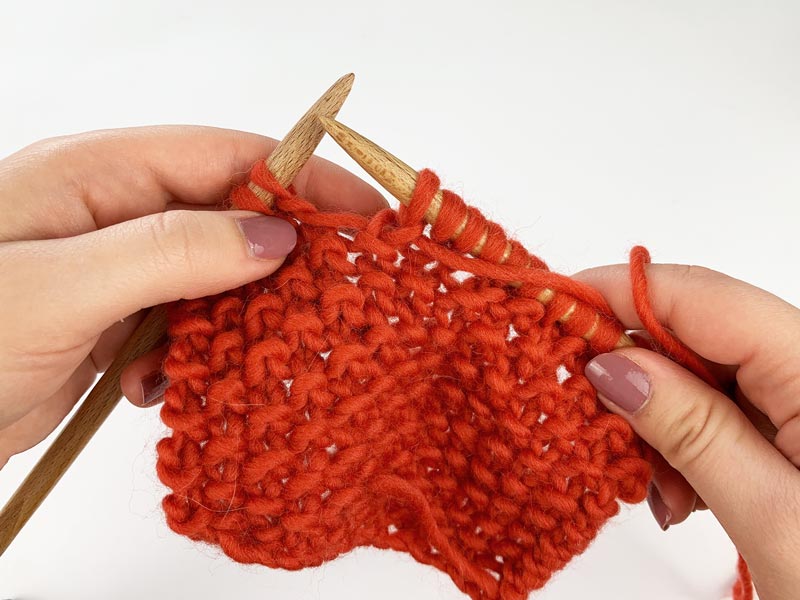
You now have a knit stitch on your right needle and in front of it a yarn over. The hole under the yarn over is already visible.
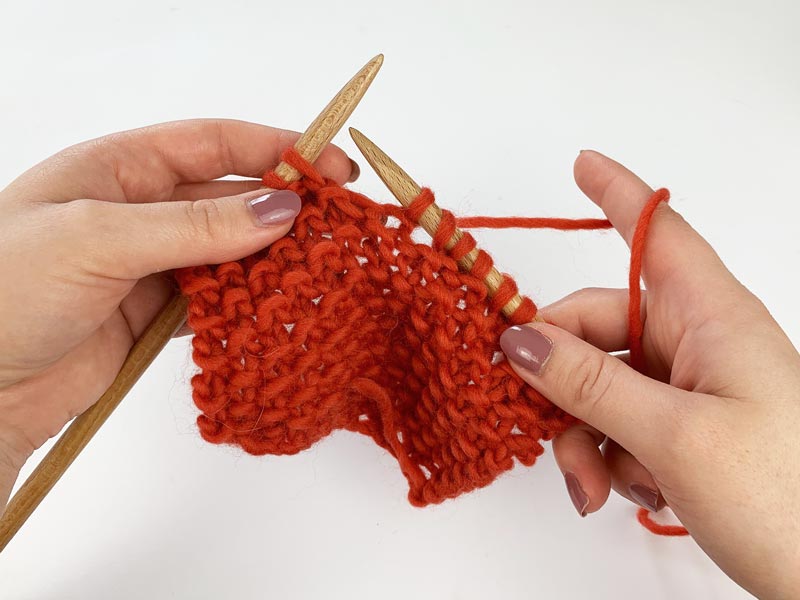
Variation 2: Yarn over between a knit stitch and a purl stitch
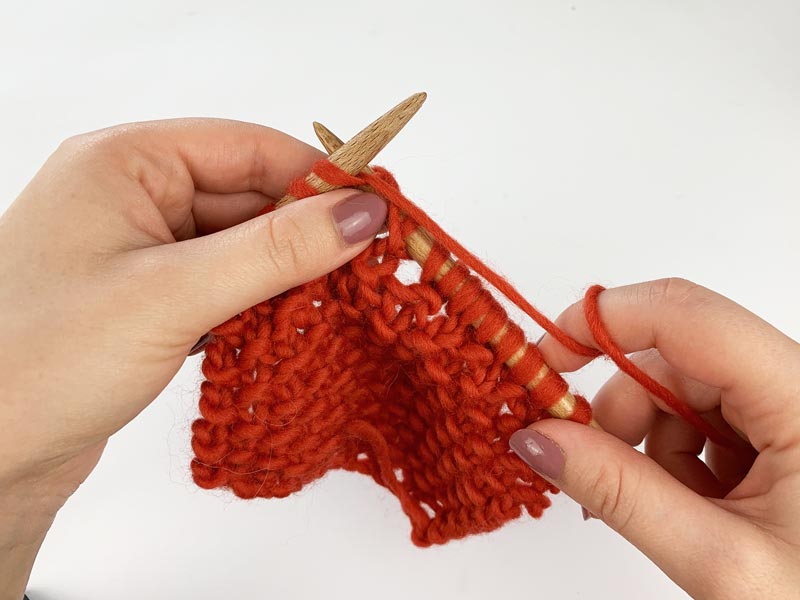
With this variation your yarn over also follows a knit stitch. After your yarn over, however, a purl stitch follows. Here too, the working yarn is first behind the work.
Step 1: Wrap the working thread, which is behind the work, from back to left front around your right needle to knit a purl stitch. If you would purl the next stitch now, you would not have knitted a yarn over!
Step 2: Now wrap the working thread again from right to left in front around your right needle. Now you have a yarn over.
Step 3: Now purl the next stitch on the left needle as usual.
Step 4: Let the stitch slide off your left needle. You now have a new purl stitch on your right needle and a new yarn over in front of it.

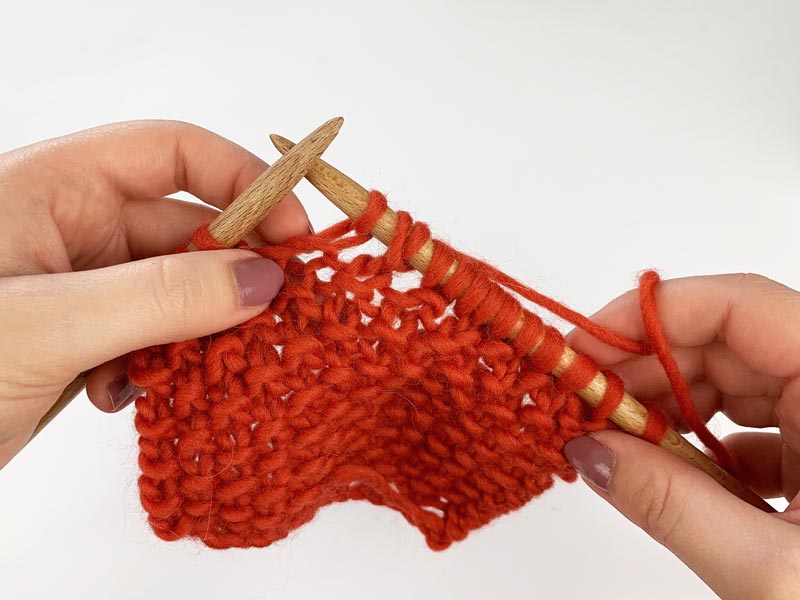
Variation 3: Yarn over between a purl stitch and a knit stitch
This variation is the simplest. The working thread lies after the purl stitch already before your work. Normally you would now bring the working thread to the back to knit a knit stitch. But you just leave it in front of your work.
Step 1: Pass the right needle from right to left into the stitch.

Step 2: Wrap the working thread that lies before the work around your right needle.
Step 3: Now knit the stitch on the left needle as usual.
These three variations have now created three holes in my work.
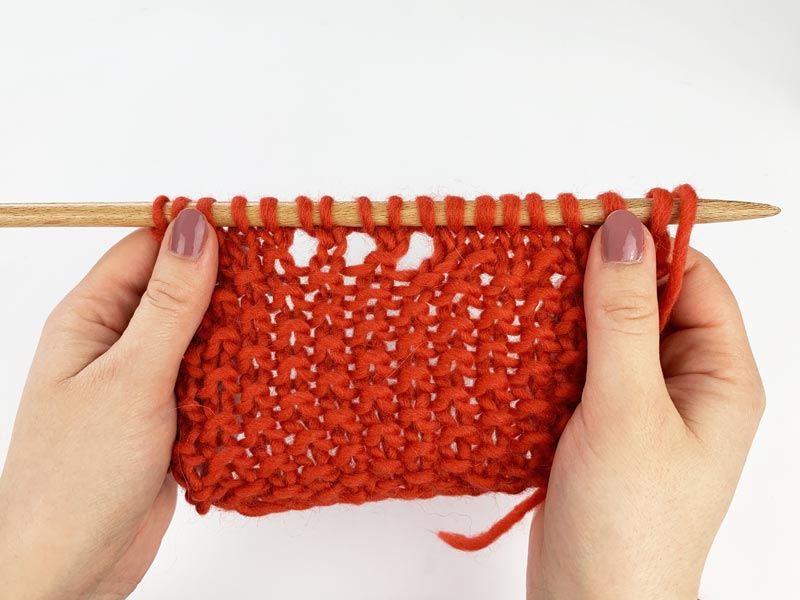
Tip: You can recognize errors with your yarn overs simply by the fact that the hole becomes very small or no hole at all is created. Then you have either wrapped the working thread the wrong way around your needle, or you have not executed one of the three variants correctly.