


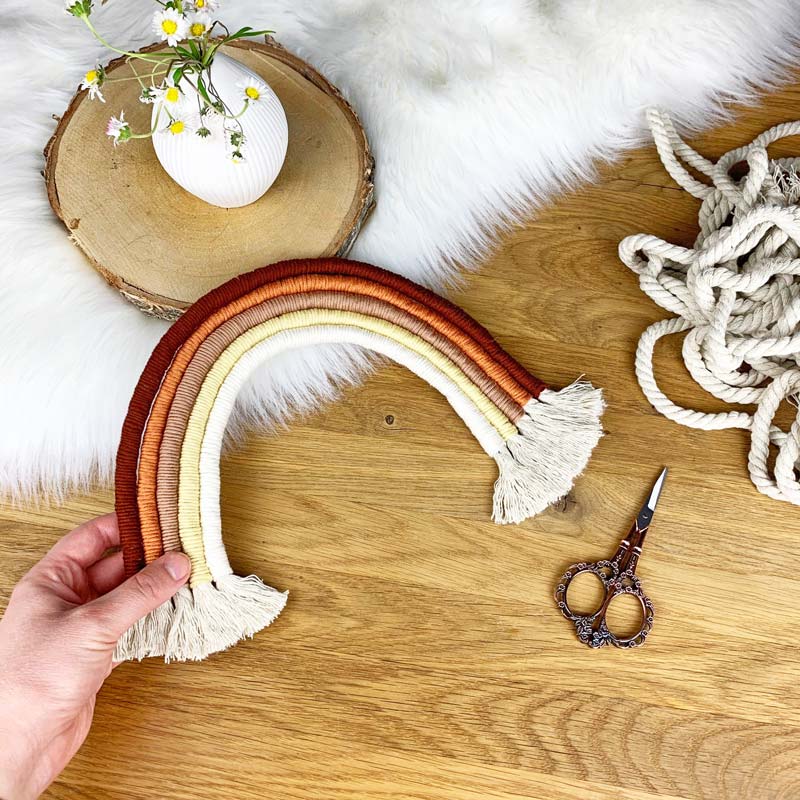
At the moment you can see them everywhere: DIY macramé rainbows in various sizes and colours. Why they are so popular at the moment, becomes clear very quickly: they are a super cute decoration idea, bring colour into everyday life and are also a great occupation for the many hours we (have to) spend at home.
So of course I had to make my own macramé rainbow, too. Fortunately I always have some leftovers of macramé rope and cotton yarn at home. The size of the DIY macramé rainbows depends on the length and thickness of the macramé rope. You can use very thin rope to make small pendants or earrings, or very thick rope for a wall decoration.
There is no end to your creativity.
For the DIY macramé rainbows you need:
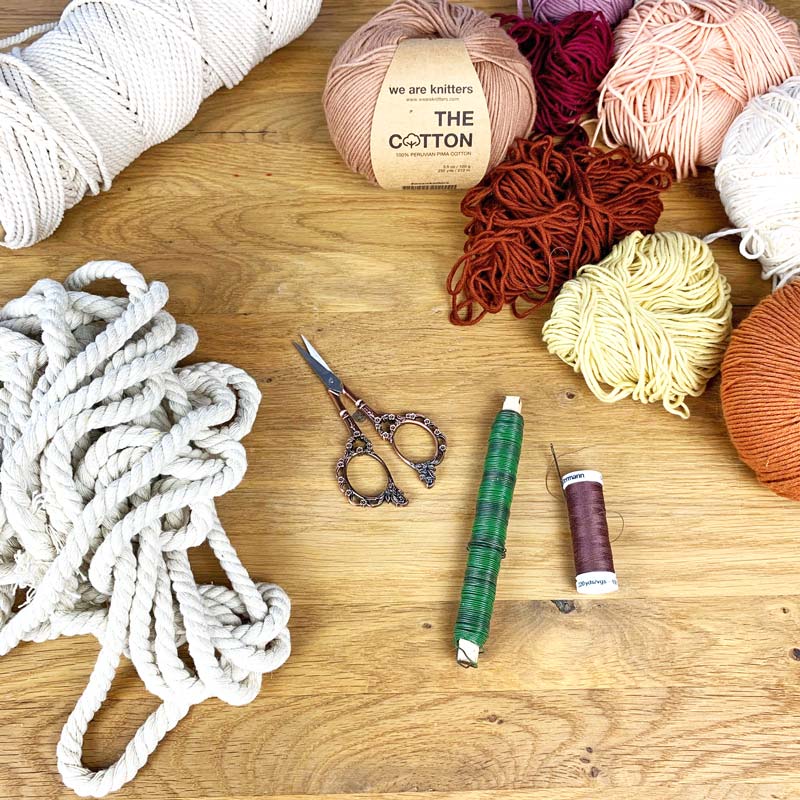
- Macramé rope or cotton rope, e.g. with 10 mm diameter
- Cotton yarn or leftovers in different colours, e.g. The Cotton from we are knitters
- Some handicraft wire
- Adhesive tape
- A scissor
- Needle and thread
- A comb
Here we go:
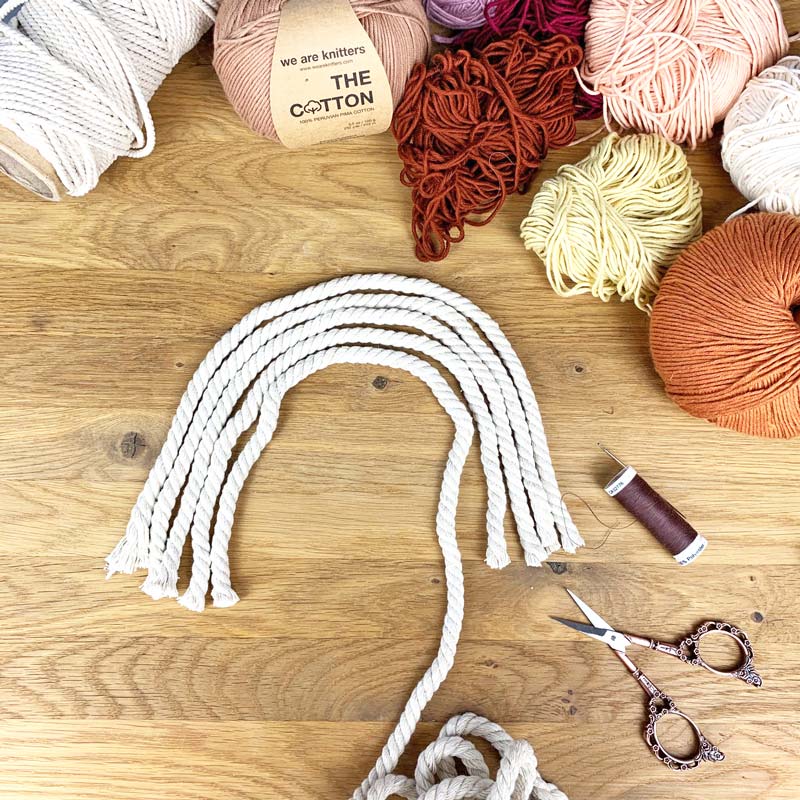
First you cut the macramé rope roughly for the bows of your rainbow. Make sure that you have enough rope for the number of bows you want. How many bows you make is of course up to you. Start with the biggest bow, he defines the final size of your rainbow.
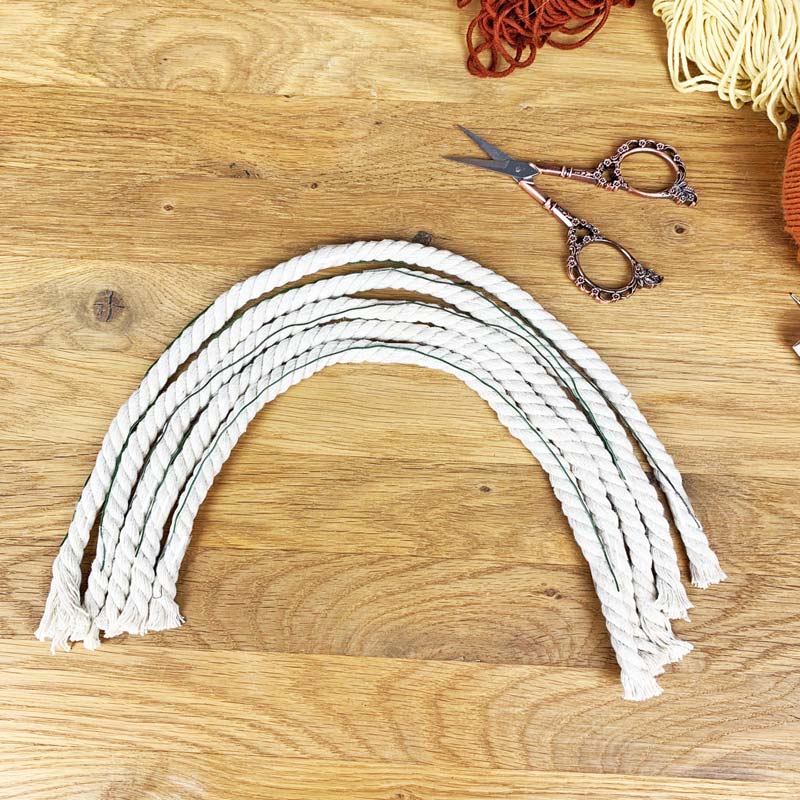
Now fix the bows with your crafting wire and some tape. This will give the bows more stability and will also help you to get them into the desired shape.
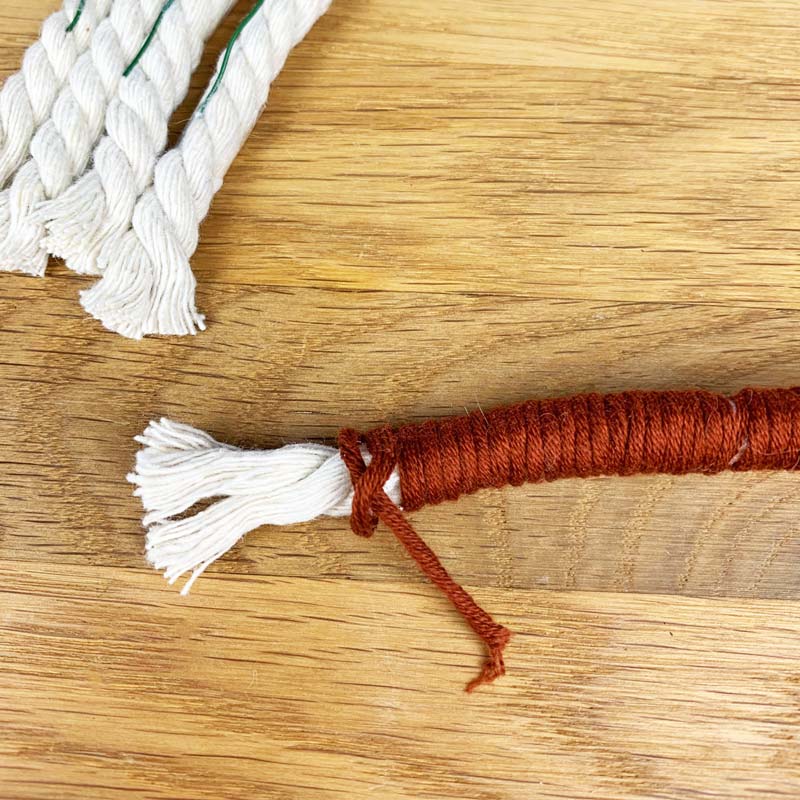
Now it gets colorful. Start with the first bow and wrap your cotton yarn around the macramé rope. Leave a small piece at both ends of the macramé rope. Wrap the beginning of the cotton rope around it so that it does not come loose.

When you reach the end of the rope, you can knot the cotton thread and hide the rest of the thread.
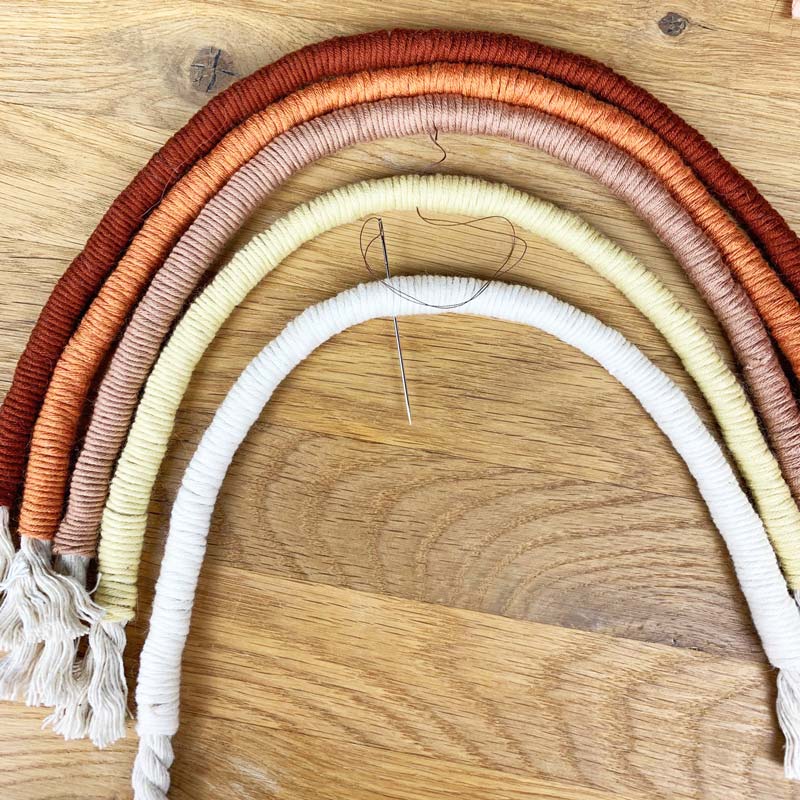
After you have repeated this for the other bows, you can connect the individual bows of your rainbow. Use your needle and some thread and connect the bows in several places. Depending on how big your rainbow gets, three (left, right and center) will probably be enough.
The rainbow is finished. You can now embellish it a bit more by cutting the ends to one length and brushing the single threads of the macramé rope apart with a comb.

And it’s done 🙂
Have fun making those cute rainbows. If you like, you can share your results on Instagram with #theknitstitch.