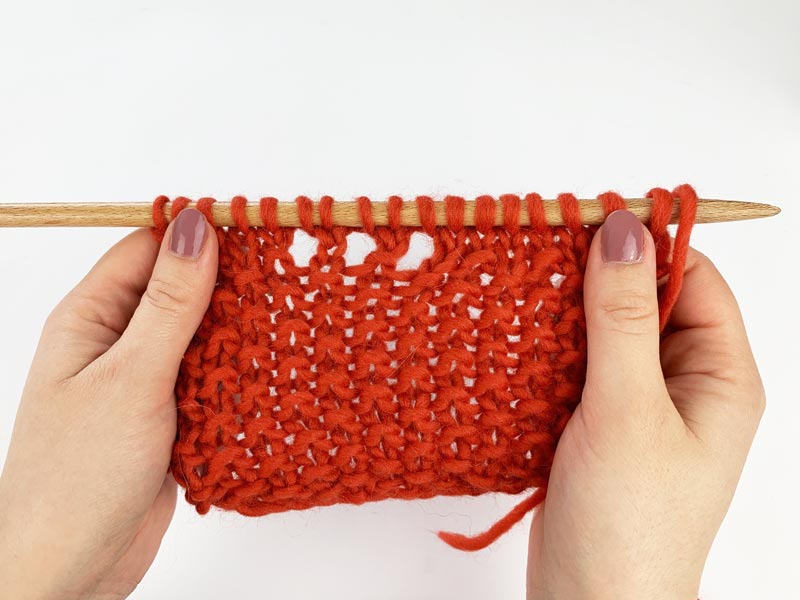
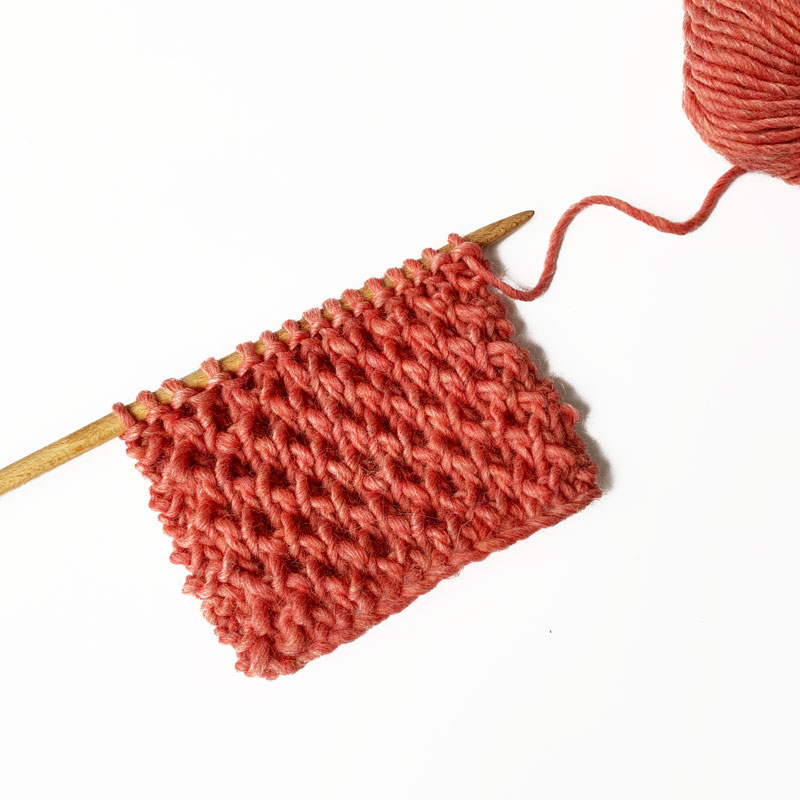
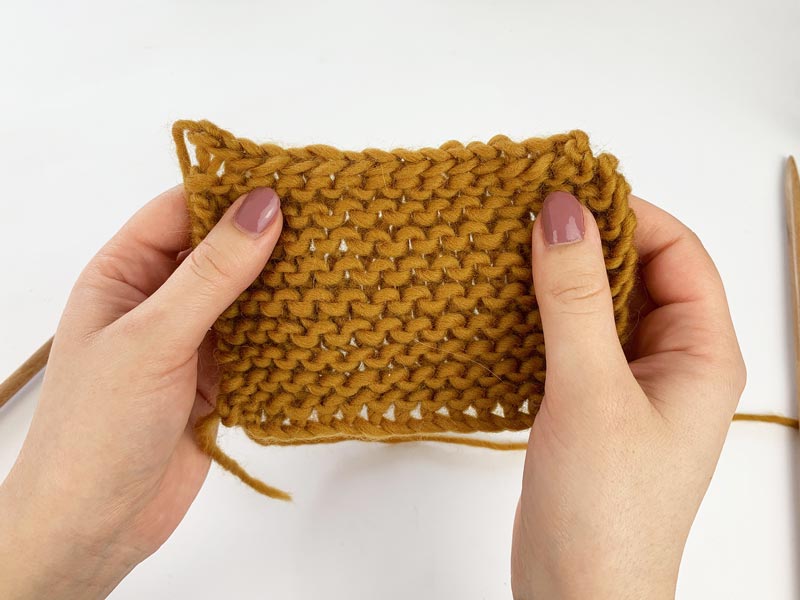
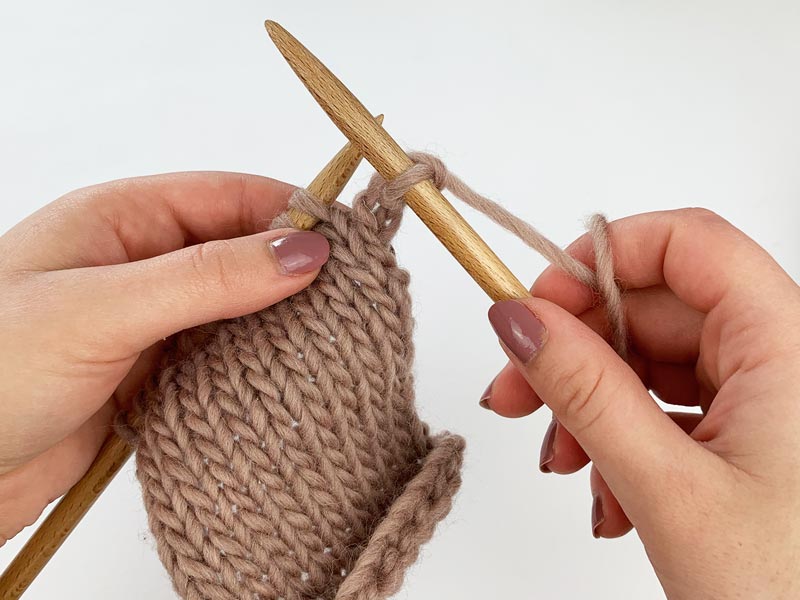
Knitting pattern for two different headbands can already be found as a set in my shop: the pattern for the Bee Mine Headband in the beautiful bee stitch, and the pattern for the Turn My Headband. Both are perfect to keep your ears warm in cold temperatures. Since it is slowly getting a little warmer,
Blog
Change yarn colors
Color changes can give simple patterns, such as the “stockinette stitch”, a very special look. A great example is the knitting set for the Signage Sweater from we are knitters. The color changes create beautiful stripes. However, if you do not knit the color changes correctly, very unsightly holes will appear between the colors. But
Quick and easy knitting pattern for chunky arm warmers
Here I have my first free knitting pattern for you: super easy and fast chunky arm warmers. Just the right thing for cold winter days. Because who likes to have cold hands? The advantage: you have your fingers free and can still use your smartphone. Furthermore the chunky arm warmers look simply great. And because
1×1 Rib Stitch
The 1×1 Rib Stitch is mostly used for collars. Techniques: Knit 1 stitch: Insert the right needle from left to right into the next stitch on the left needle. The working yarn is behind the project. Wrap the working yarn once from back to front around the right needle. Now pull the working yarn with the
Bee Stitch
The Bee Stitch is a brioche stitch whose appearance is reminiscent of honeycombs. It has a great three-dimensional surface. Due to the stitch below this is a more difficult knitting stitch. It also requires a certain amount of concentration so that you don’t get mixed up in the alternating rows. But once you get the
Cast-off Stitches
Once you have knitted the desired number of rows for your knitting project, you have to cast-off your stitches. If you don’t do this and just remove the needle, your knitting project will frog completely. Step 1: Knit the first two stitches. If you don’t know how to do that, check the tutorial “The Knit
The Knit Stitch
The Knit Stitch is the simplest knitting stitch and at the same time the basis for almost every knitting pattern. Step 1: Insert the right needle from left to right into the next stitch on the left needle. The working yarn is behind the project. Step 2: Wrap the working yarn once from back to
Cast-on Stitches
Every knitting project starts with casting on stitches. Here’s how it’s done. Step 1: Make a big loop with the beginning of the yarn by tying it around your fingers. Step 2: Now take the beginning of your yarn and tie it once around your big loop. This creates a second, smaller loop. Step 3:
Seed Stitch
The Seed Stitch is definitely one of my favourite patterns. It consists of knit stitches and purl stitches. The knitting pattern is very suitable for beginners. Techniques: Knit 1 stitch: Insert the right needle from left to right into the next stitch on the left needle. The working yarn is behind the project. Wrap the working
Stockinette Stitch
The Stockinette Stitch is one of the simplest and best known knitting patterns. However, it is already more complex than the “Garter Stitch“, because it consists not only of knit stitches, but also of purl stitches. The knitting pattern is nevertheless very suitable for beginners. The knitting pattern results in a very smooth surface on